Documentation
Overview
To get started with staking you will first need to setup a node. Once you have it setup and synchronized with the network you will need to copy it's Proof of Possession file so it can be accessed from your client. The Proof of Possession file is located at ~/.kaos/production/config/node_pop.json.
Choose the appropriate deployment for your path. Options are
production,staginganddevelopment.
Using the CLI client make sure you have at least 64 credits plus some additional for the transaction fee.
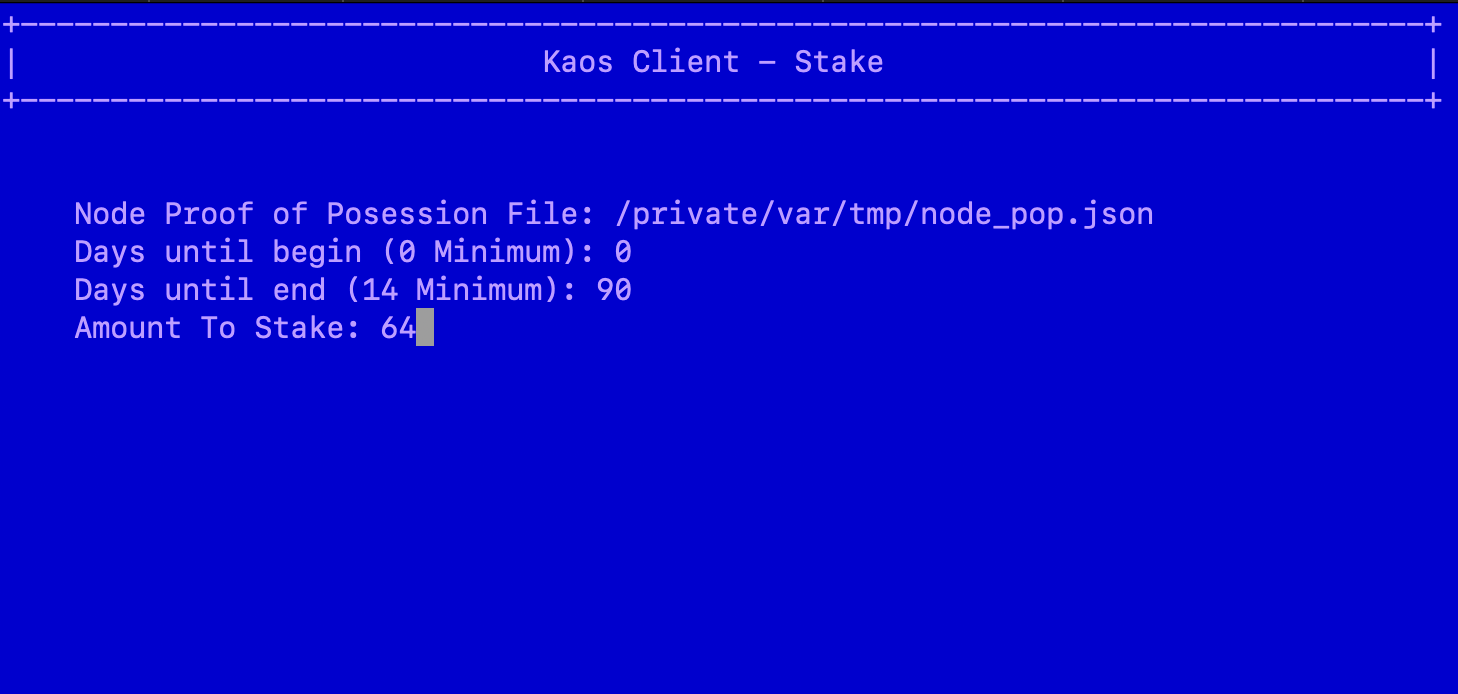
- Press option
tand enter the path to thenode_pop.jsonfile. - Next you will enter the number of days until you want the stake to become active. To have it become active immediately enter
0. - Next you will enter the number of days you would like to stake. There is a minimum of 14 days.
- Next you will enter the amount you want to stake.
Your transaction will be submitted to the network.
Txn(95b188e6e6d17422dbfddb6e4882a2cd8721190c74aa4bb01ceebd220e6e29cb) sending.The CLI client will say confirmed when it has been finalized.
Txn(95b188e6e6d17422dbfddb6e4882a2cd8721190c74aa4bb01ceebd220e6e29cb) confirmed.If you see
timeoutinstead ofconfirmedit does not mean the transaction was rejected or finalized. You can use JSON-RPC getBankTxn to check if it was actually confirmed.
To check the status of a bank stake you can use the JSON-RPC getBankStake.
CLI Client